
In this article we will guide you through the admin dashboard of a partner account, outlining the main features and how you can keep things organized.
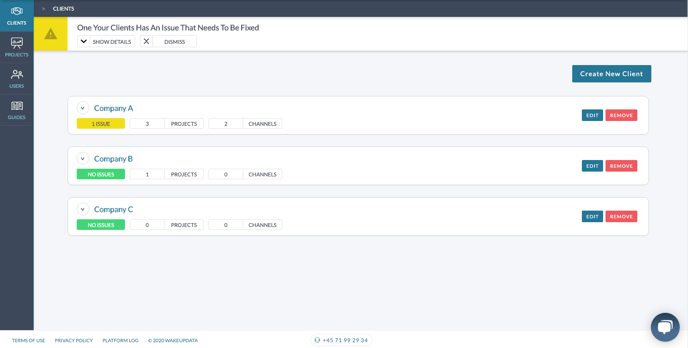
Once you log-in, and you will land on the client's overview tab. Here you will have an overview of:
- The list of clients within the partner account
- Issues notifications (in case we encounter an issue with one of the projects of a client)
- Number of projects within the client account
- Number of channels within the client account
- Create a new client account or edit/delete an existing one.
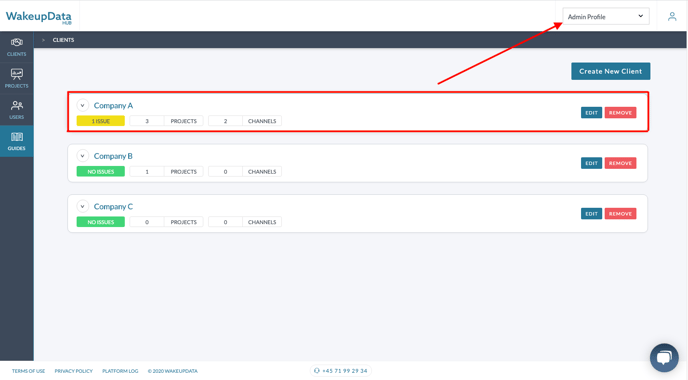
From here, if you wish to select a specific client account, you can either click on the specific client tab or choose the client from the top right dropdown (which is also searchable):
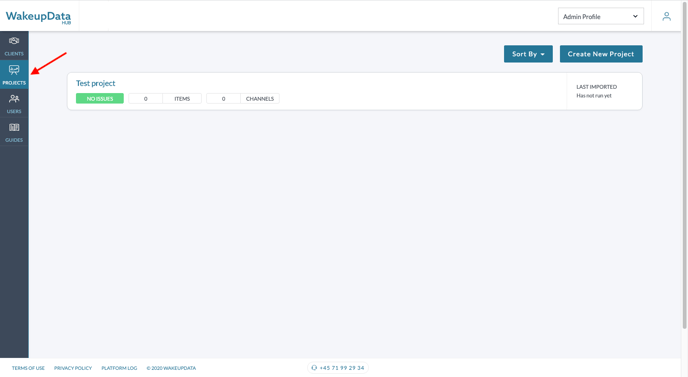
Next, on the left command bar, you will have the "Projects" tab. Think of it as your sandbox environment where you can test projects for prospective customers, without the need for creating a client account prior to it.
In a nutshell, your Partner account gives you an overview of all your clients, making it easier to keep control of your client portfolio within the Wakeupdata platform. Also, you can assign users to specific client accounts, this way you can give access to your colleagues to edit a specific client - this way you keep control who has access to which account.
To learn how to assign additional users, please refer to this article.