In this article, you will learn how to create user accounts and invite contributors to your projects.
As a Partner, you will have a list of clients that you manage through your account. In some cases it will make sense for you to give one of your colleagues' access to a specific client account to perform changes, making sure the rest of the accounts are managed separately.
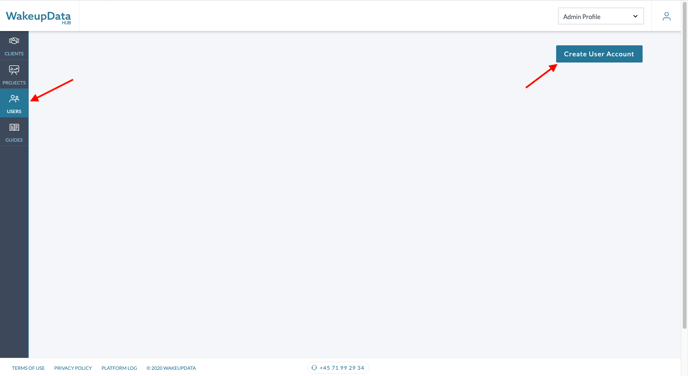
Select the "Users" tab:

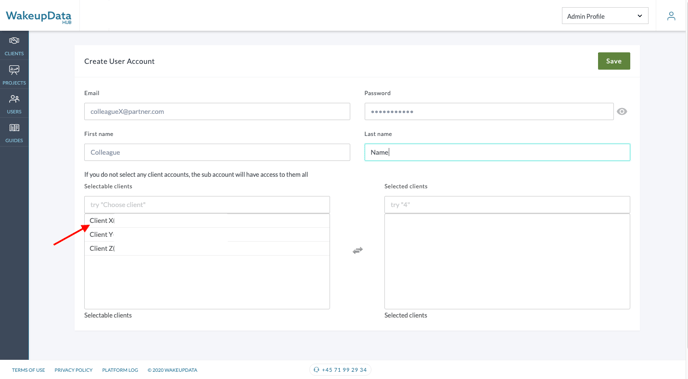
Fill out the information like the email address of the assigned user, name/last name, and select the client account you wish to assign to the user. You can select one or multiple client accounts, however, if you don't select a client account the assigned user will get access to all the clients.

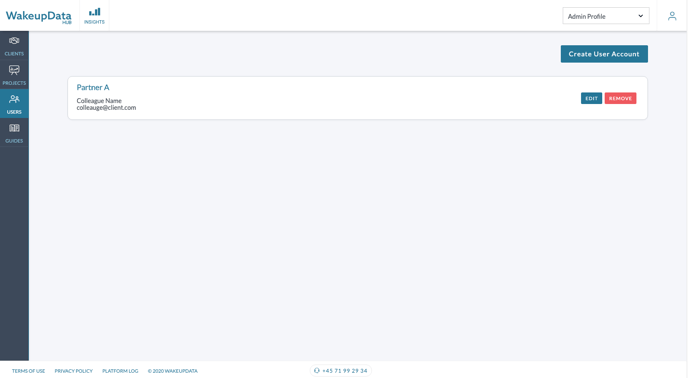
Once you've assigned the user, it will be available in your user's tab, where you can always see which user is assigned to which client, as well as editing/removing a user.

You can also add multiple users to one specific client account, or choose to give access to several accounts to a user. The assigned user will receive an e-mail invitation and can start editing projects within minutes.